

Filesender is available for members of the Warner College community to transfer large files to colleagues at CSU and outside of CSU. The service provides the capability for someone at CSU or outside of CSU to send you a large file.
Microsoft OneDrive for Sending and Receiving Files
We continue to recommend using Microsoft OneDrive when possible. Please see the instructions below for using OneDrive to share and receive files.
How to Share a File on OneDrive
How to Share a File on OneDrive:
- Go to portal.office.com
- Sign in with your CSU [email protected] + CSU Password
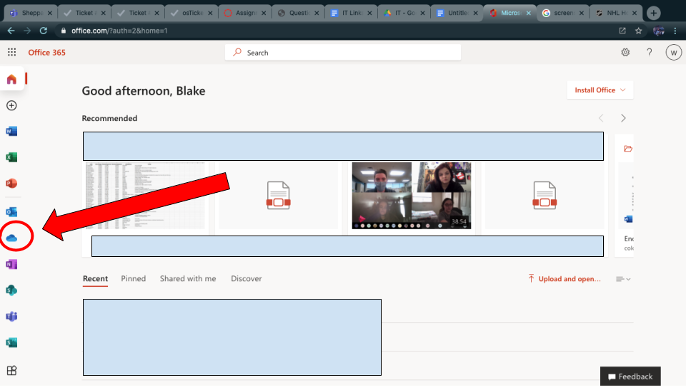
- Click on OneDrive (This will be the cloud in the column on the left).
- Hover over the file you want to share and Click the three dots. This works for sharing folders (and their contents) as well.

- Next, from the drop down menu, click the share button.
- After hitting the share button you will want to change who is allowed to see the file, so only specific people can access the file. You do this by clicking “Anyone with the link can edit” and then clicking “Specific People” to change the setting.
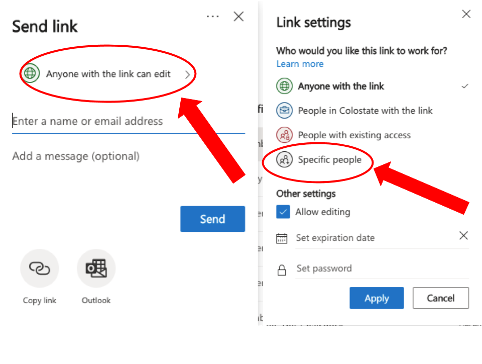
- Also from the screen you can give the person sharing access to edit by checking or unchecking the “Allow Editing” box.
- After finalizing this screen you can hit the blue “Apply” button on the bottom of the tab.
- After configuring the settings you can type the email address of the person you want to share the file with. (It does not have to be a CSU email but a non-CSU email will produce a warning message — you can just ignore this). You can also send a message to the receiver of the file if you wish.
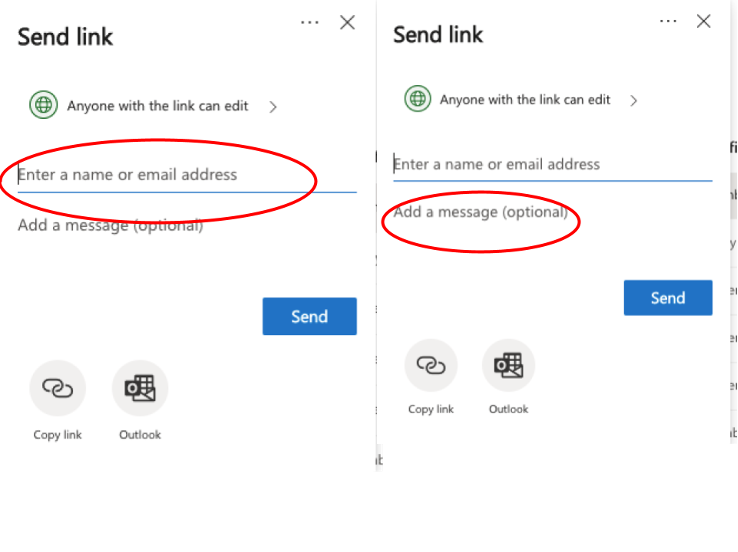
- After the email address you want is entered in the box and you’ve added your message to the recipient (optional) you are ready and can hit the blue “Send” button to share the file.